Here’s an example of how I went from a 3D scan to a part I could modify
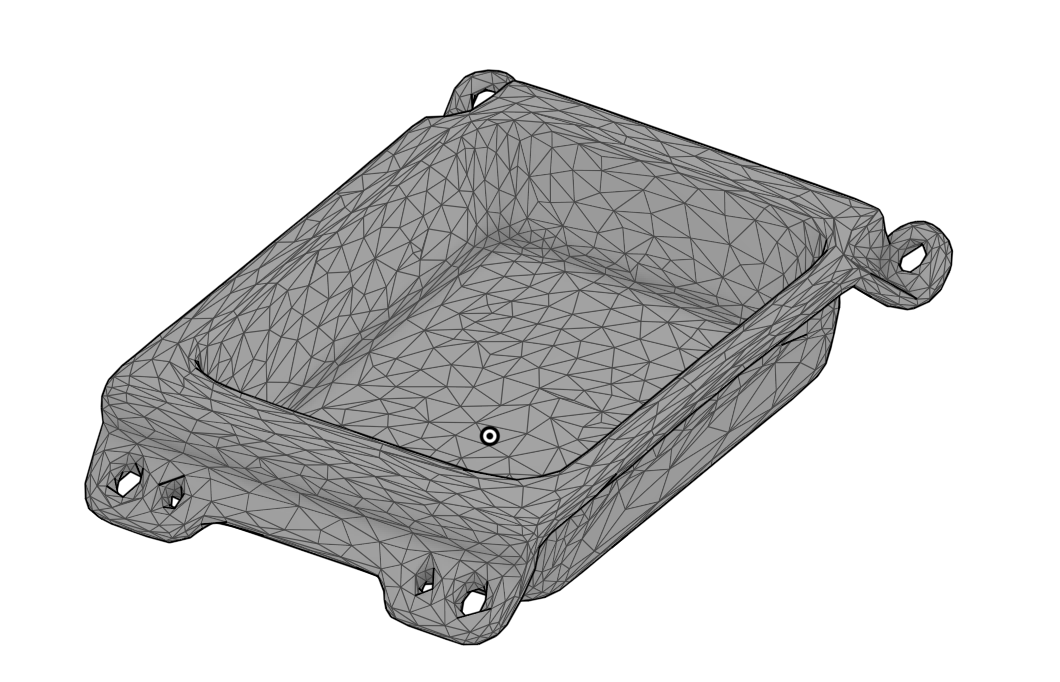
Scanned object
Below is an example of a scanned object without being updated. Looks pretty good right? Yes and no.

If you’re designing a new part based off of this, there are several issues you run into:
Surfaces aren’t flat - When recreating this, you’ll want flat surfaces, but the scanned object is so precise you’ll get points +/- 0.05mm!
Edges are usually rounded - Usually designers make things rectangular first, then round the edges and corners.
The next screenshot is an example of this. You can see tiny bumps in the surface, and as such will make it hard to recreate.

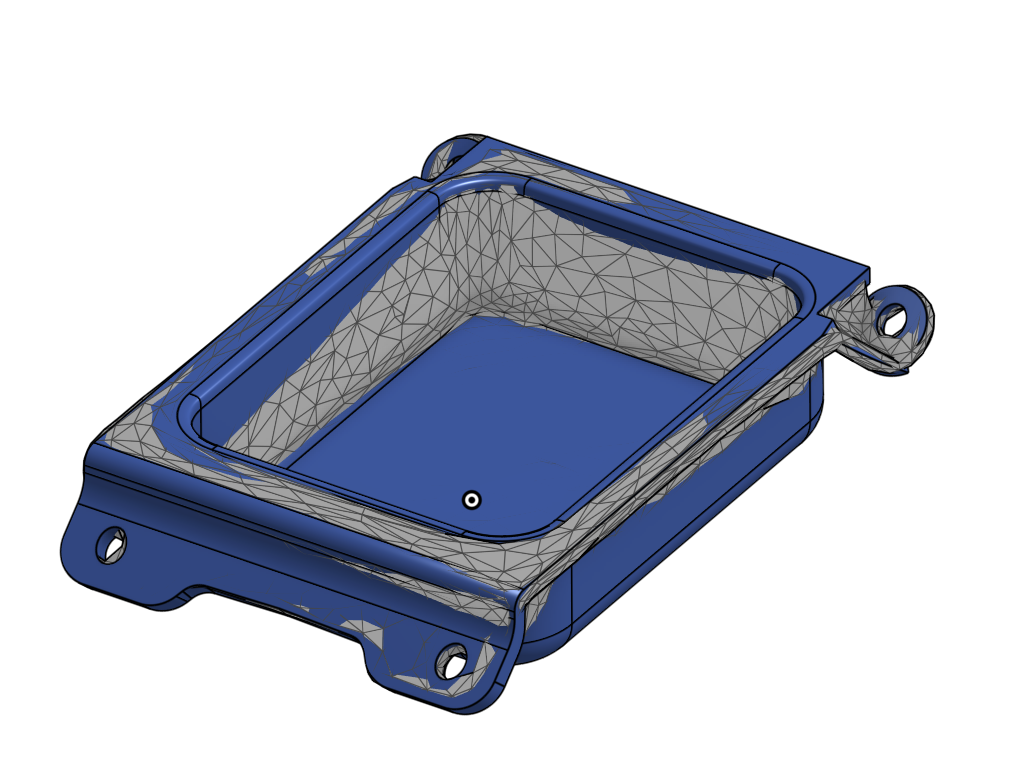
So what I ended up doing was using the 3D scan as a reference and I measured parts to get accurate dimensions. This works well enough, but sometimes it can get you into some weird places. Anyway, here’s some pics of that.
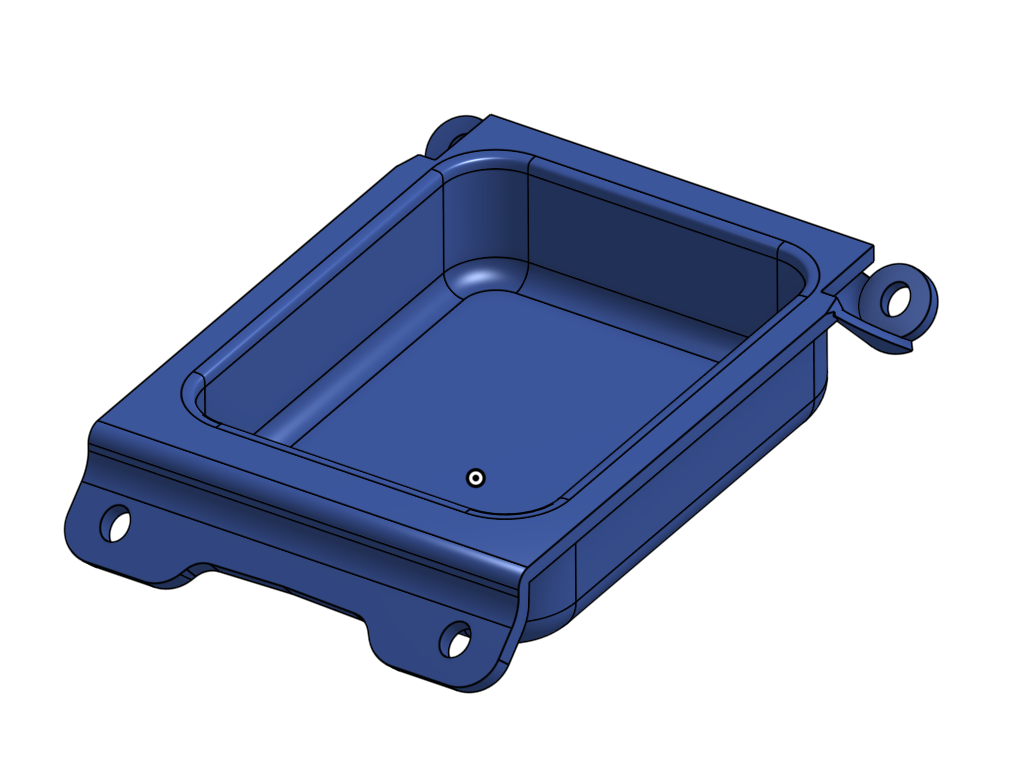
Overall, this took me about 4 hours from start to finish, and I haven’t even printed the part yet. I plan to use this as a base to add modifications to.